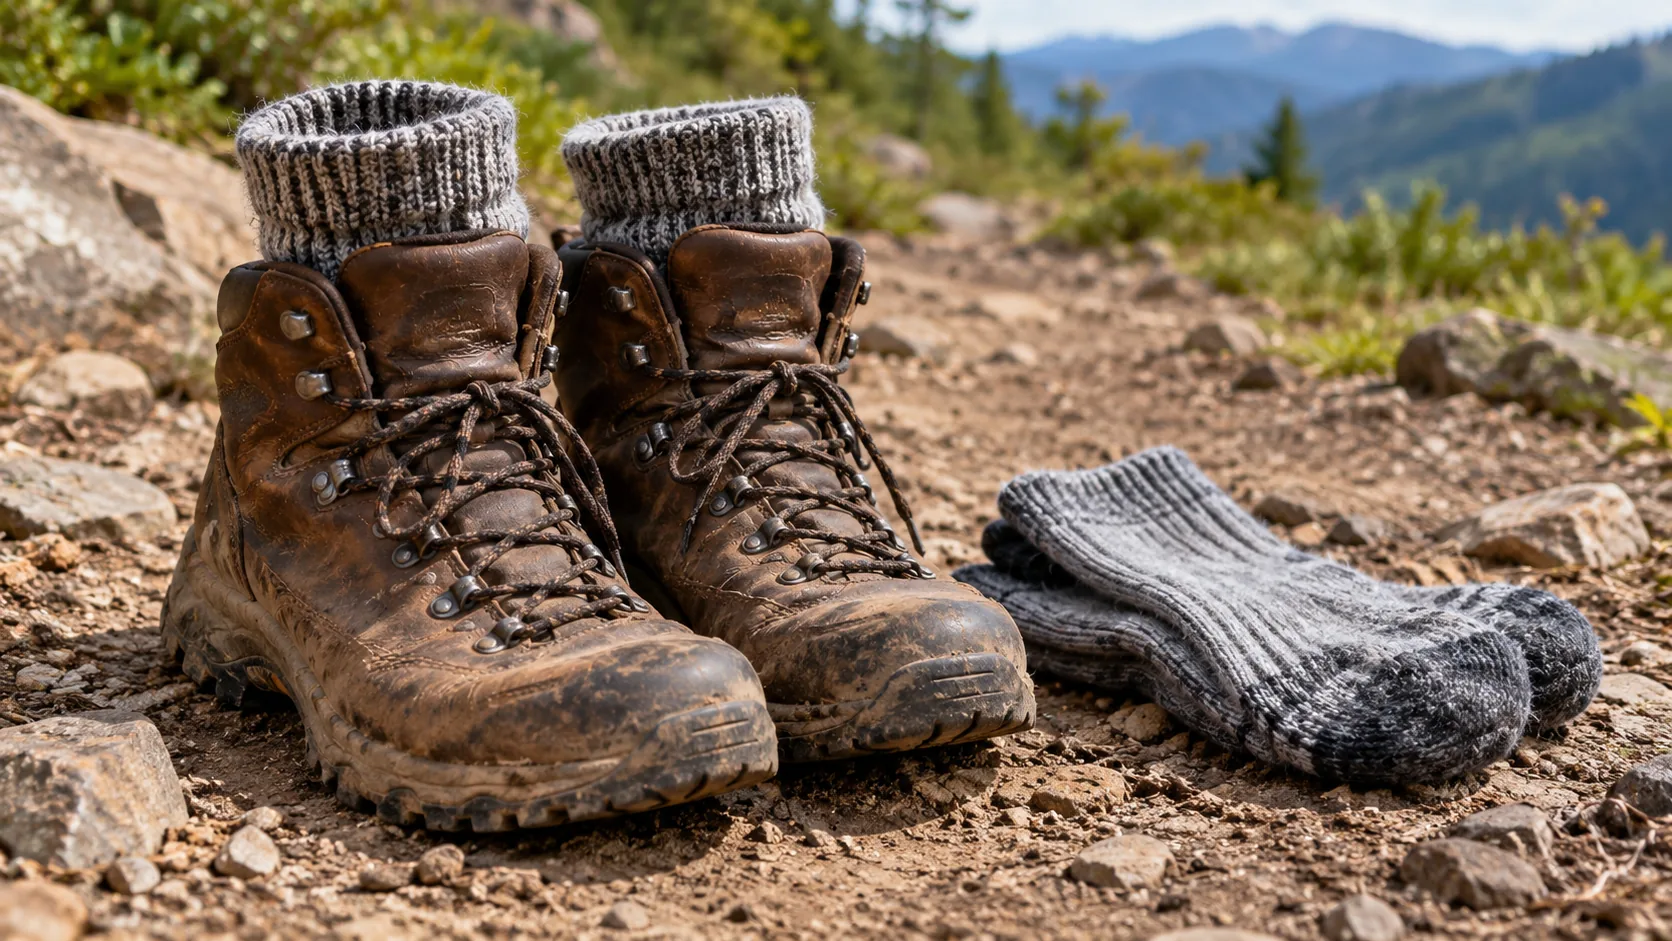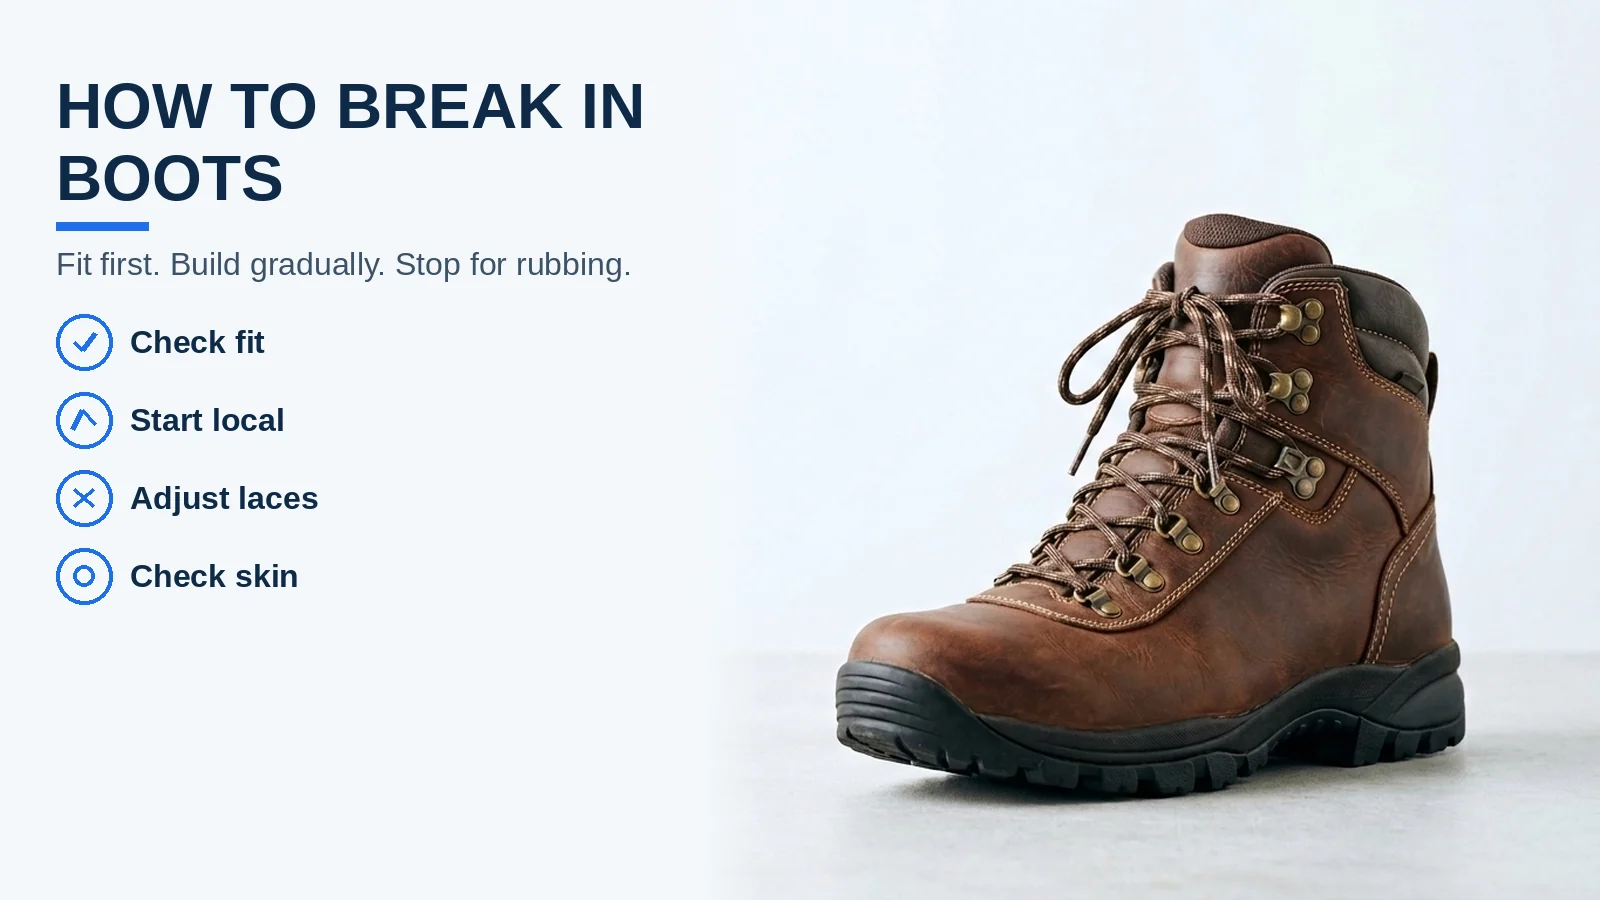
A heel hotspot can turn a first hike in new boots into an early retreat. Here is how to break in boots for hiking: check the fit with your intended socks, begin at home, progress through short local walks to varied terrain, and stop as soon as rubbing appears.
The best way to break in hiking boots is to increase walking demands only after comfortable wear at an easier stage. Use local outings to check heel hold, tongue position and skin response before committing to a longer route or a pack. Stiffness can ease with wear; persistent pinching needs a fit review. There is no universal mileage target or deadline that makes a pair ready.
Check the fit before trying to soften the boots
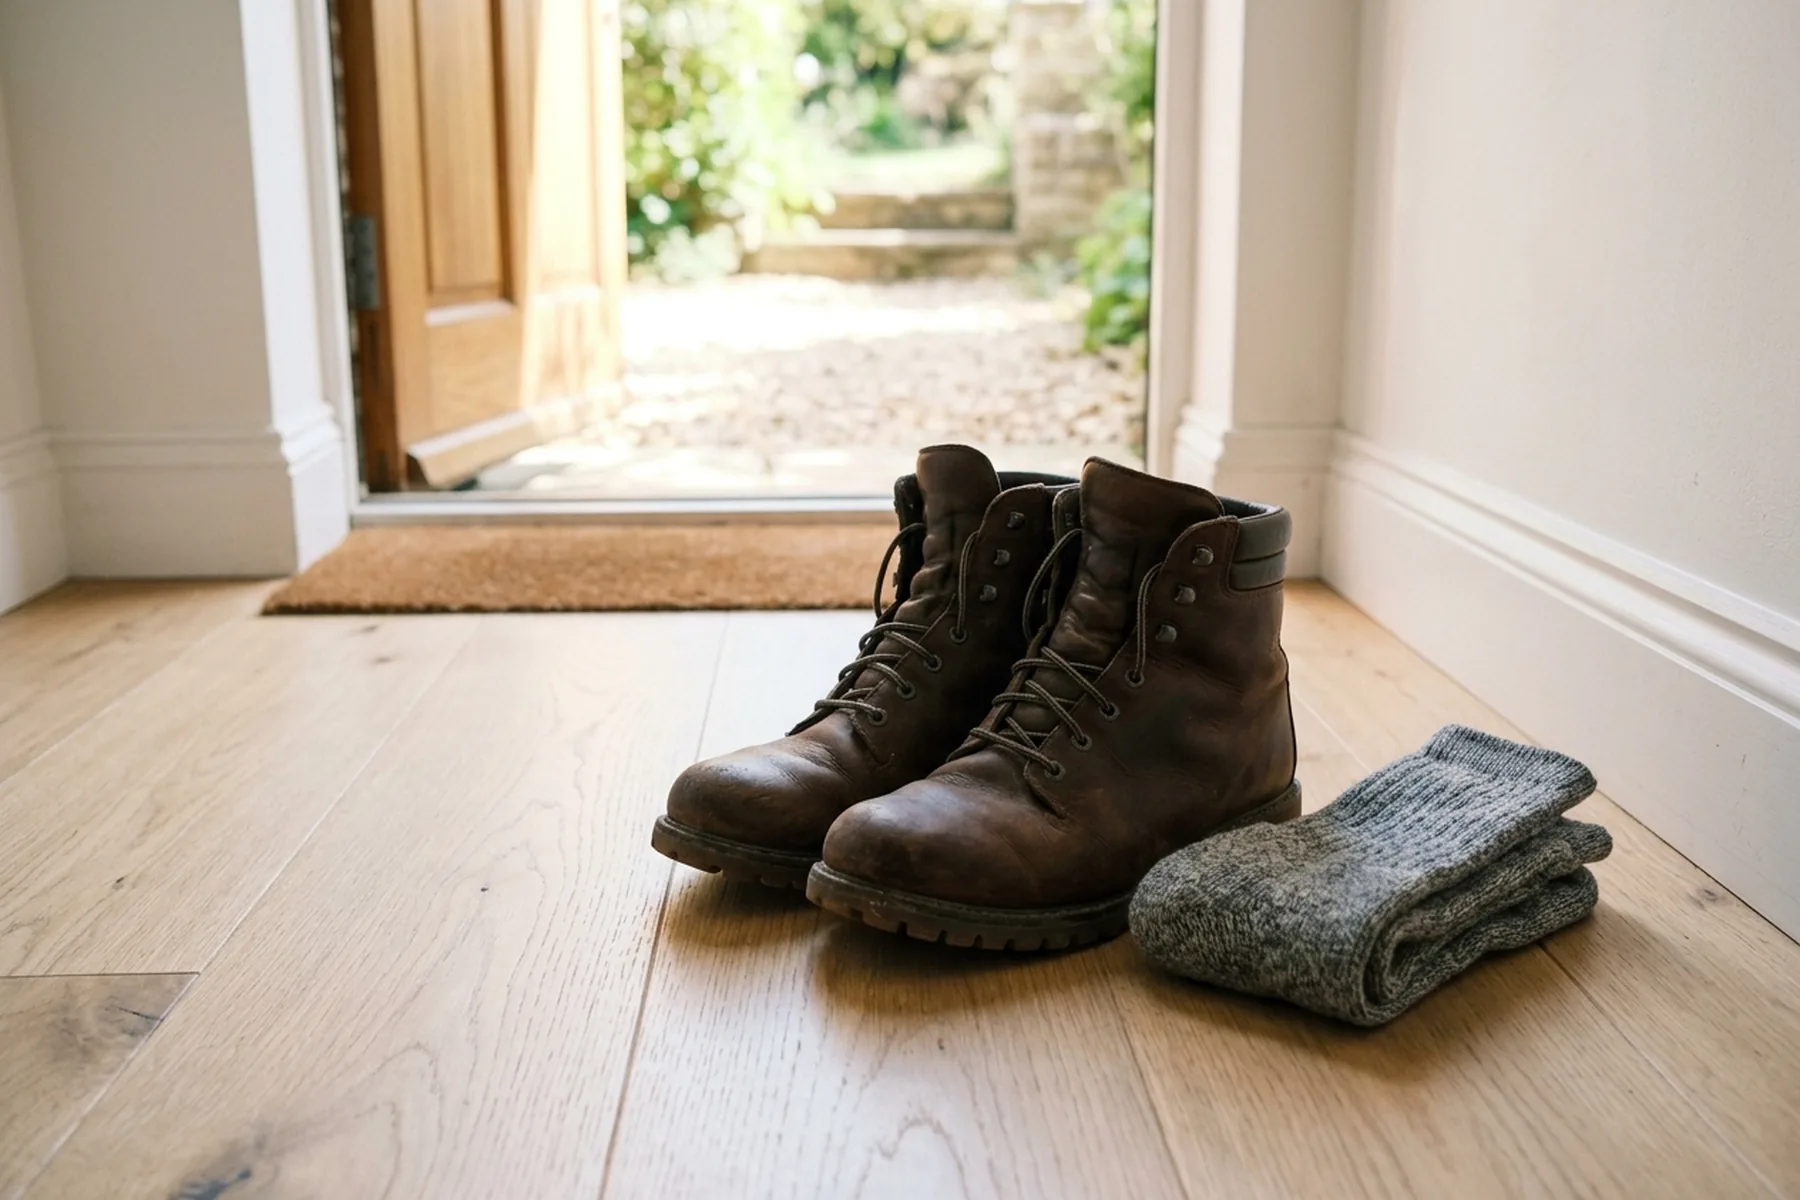
Start with boots that fit; wearing them in is the final adjustment, not a substitute for the right size and shape. HANWAG’s break-in guidance recommends a fresh fit check when pinching or rubbing persists after gradual trials.
Wear the socks intended for the hike, smooth out folds, and keep that setup consistent while checking comfort. Sock thickness changes fit. Do not assume an extra-thick pair will make a tight boot suitable.
Stiffer mountain boots generally need more gradual wearing-in than softer hiking footwear. That distinction helps you allow preparation time, but it does not supply a mileage quota. Keep early trials within the retailer’s return conditions so you can resolve a fit problem before committing to the pair.
Compare break-in stages by what can go wrong
Move from home wear to nearby walks, then short hikes on varied ground, using comfort to decide when to advance. Meindl describes that home-to-short-trip sequence; the gates below are a practical synthesis of maker advice and the AAD’s immediate stop rule.
| Wear setting | What you are checking | Advance or repeat? | Dominant Failure Mode & Prevention |
|---|---|---|---|
| At home, without a pack | Sock fit, tongue position and pressure while walking | Try a nearby outing only after comfortable wear | Persistent pinching mistaken for stiffness: stop and reassess fit rather than forcing more wear. |
| Short local walk with an easy exit | Heel hold and any rubbing as you move | Repeat or shorten if anything rubs; inspect skin before another trial | Walking past a hotspot: stay near home and stop at the first discomfort. |
| Short walk on varied terrain | Fit on gentle slopes and changing ground | Build demands gradually after comfortable wear | Laces becoming loose or creating pressure: stop and readjust rather than tightening everything harder. |
| Gradual transition toward intended pack use | Whether the familiar boot-and-sock setup remains comfortable | Treat load progression as a separate training decision | A long, loaded outing becoming the first boot trial: establish local comfort before using the ruck plan. |
These are decision stages, not a daily training schedule. A historical FM 21-18 foot-care passage, reproduced in an Army ROTC guide, also uses progressively increasing distance as a conditioning principle. It does not establish a boot-softening deadline or current military policy.
Rules of thumb — use an observed time threshold: If time to first rubbing < planned session duration during an unloaded local walk → end the session and return to fit checks, because symptoms have appeared before the intended walking exposure is complete. Stop when rubbing starts; the remaining time is not a target to finish. This is an individual observation rule, not a safe exposure limit.
Keep a simple record of the last comfortable outing and the next proposal. The arithmetic makes an increase visible:
Change in walking time = next planned outing time − last comfortable outing time.
Worked example — planning assumptions, not a published dose: suppose the last comfortable local outing was 20 minutes and the next outing pencilled into the log is 25 minutes. The change is 25 − 20 = +5 minutes. Both durations are assumed inputs; the calculation does not establish a safe increment. Comfort on the day decides whether to repeat, shorten or stop, and added terrain or load changes the comparison.
Adjust lacing without crushing the whole foot
Seat the heel and centre the tongue before adjusting lace tension. HANWAG’s lacing guide separates the forefoot/midfoot from the upper ankle zone; your boot’s hardware determines how independently you can tension them.
Loosen the laces before putting the boot on, settle the heel into its cup, and keep the ankle straight while tying. Set the lower section snugly without pressure, then adjust the upper section for heel hold and ankle movement. Meindl advises against overly tight upper-ankle lacing during break-in.
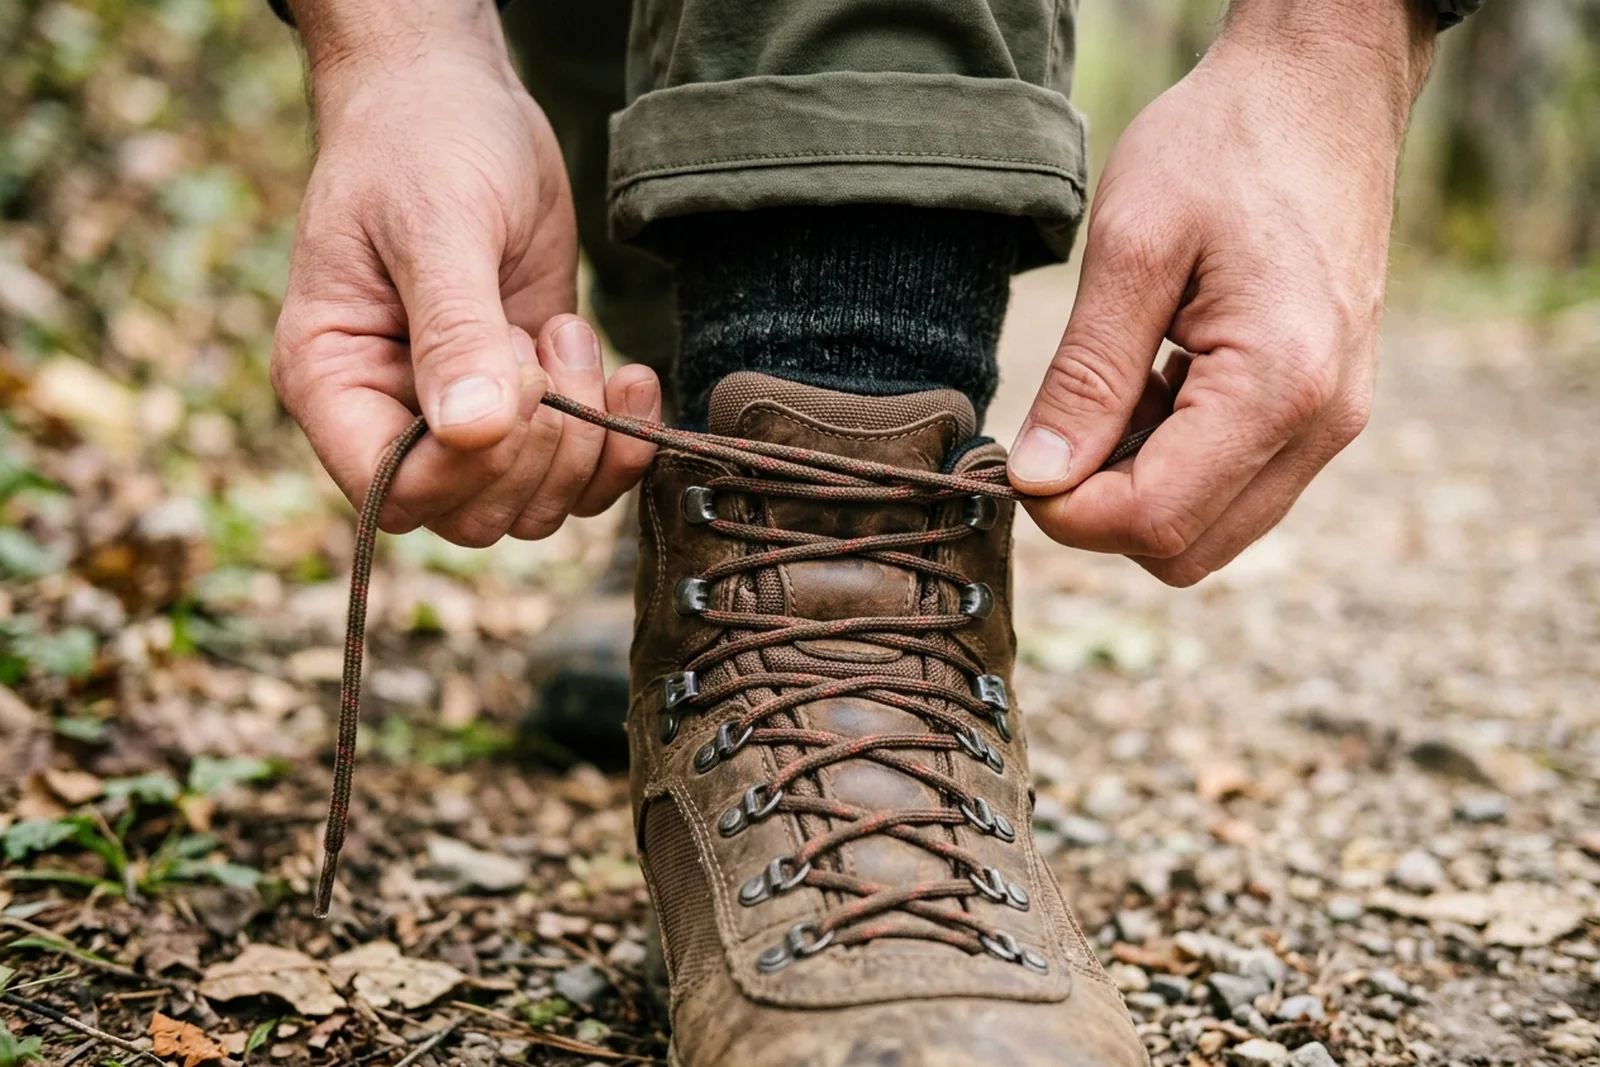
Where the system permits, an overhand knot can retain lower-zone tension. For localised instep pressure, window lacing runs straight between eyelets on the same side across that section instead of crossing over it. Stop and readjust if laces loosen or pressure develops. Persistent heel slip or pinching still needs a fit review; pulling harder is not the answer to every problem.
Stop at a hotspot; treat a blister differently
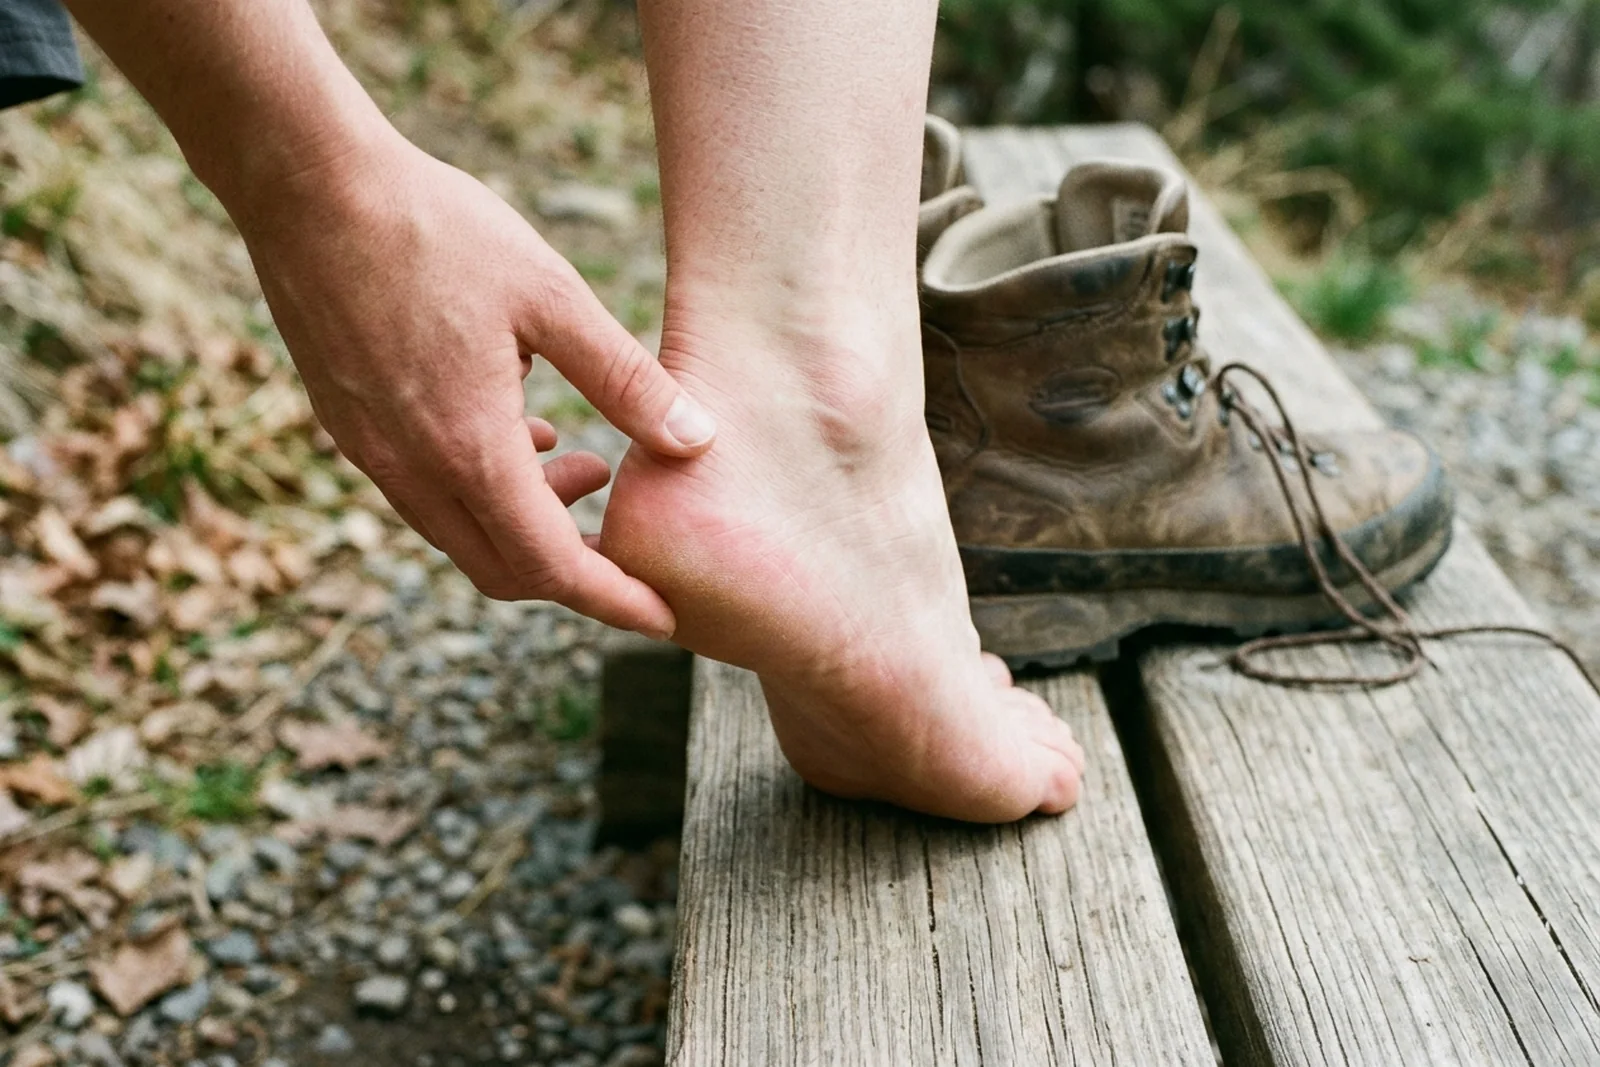
Stop immediately for pain, discomfort or red skin, as the American Academy of Dermatology advises. Remove the boot and inspect the heel and other rubbing areas. Check for a folded sock, displaced tongue or pressure from the laces before planning another outing.
| What you find | Next action |
|---|---|
| Rubbing, with skin still intact | End the trial and address the fit or sock problem. AAD suggests securely applied moleskin or other soft bandages for problem areas; padding does not make a poor fit suitable. |
| A blister | Keep it clean and cover it with a soft plaster or padded dressing. Do not burst it or peel away skin. Avoid the boots that caused it until healed. A pharmacist can advise on dressings. |
| A very painful or recurring blister, or signs of infection | Seek help from NHS 111 in the UK, or the appropriate local service. Infection signs include heat, green or yellow pus and surrounding redness, which can be harder to see on brown or black skin. |
The blister and escalation actions follow NHS guidance. If you have diabetes and develop a foot wound, even a small blister, Bradford District Care NHS guidance calls for professional assessment. This guide provides general information, not medical advice.
Can you break in boots faster or overnight?
You cannot reliably make an unsuitable or uncomfortable pair ready by an overnight deadline. Use the available time for fit checks and manageable wear rather than a long walk intended to force the process. If the trip arrives before comfortable trials, choose footwear already suitable for that route or change the plan.
Avoid heat-based shortcuts. HANWAG’s care instructions warn that fire, radiators and other heat sources can make leather brittle, affect bonding and shrink it. Dry damp boots in a ventilated, shaded place instead.
Some maker advice discusses moisture to soften leather; that does not justify a universal soak-and-walk routine. Follow the care instructions for your particular boots before applying water, conditioner or wax.
When are the boots ready for a longer walk or ruck?
Comfortable wear on ground resembling the planned route is more useful evidence than reaching a mileage total. Before adding demands, check that the last outing left no rubbing, that the tongue stayed centred, and that the lacing held without creating pressure. This is a practical readiness check, not a guarantee against blisters.
For loaded walking, use the separate ruck march training plan to organise distance, weight and pace. Boot break-in and fitness preparation overlap, but passing a local boot trial does not establish readiness for the event load.
Hidden cost / TCO: a rushed break-in can cost the outing itself, time spent resolving a wound, and extra sock, tape or dressing use. Include those consumables and the possibility of an abandoned walk in preparation, using the hiking foot-care kit checklist. Supplies support preparation; they do not turn uncomfortable boots into a suitable pair.
Method and sources
This guide combines publicly available Meindl and HANWAG instructions with NHS and AAD skin-care guidance, accessed 19 October 2026. The historical FM 21-18 excerpt supports gradual conditioning only. The stage gates are editorial synthesis; the worked durations are labelled planning assumptions. Related foot-care guides cover the next preparation decisions. Updated October 2026.