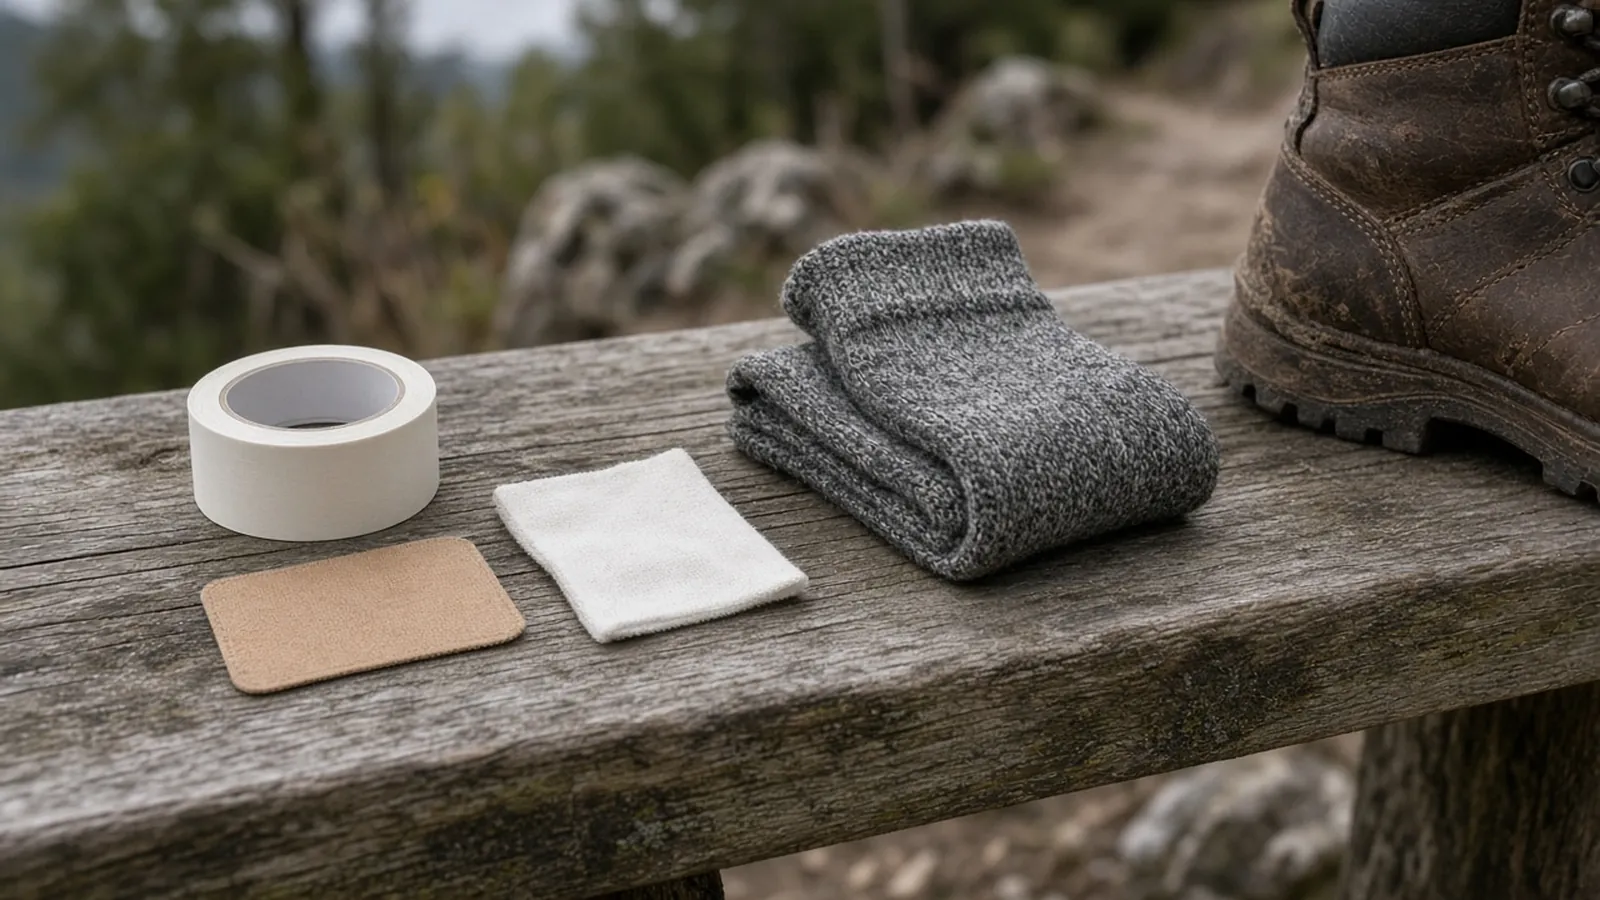
Build up ruck training the wrong way, with long, heavy rucks from the start, and you risk blisters, because sudden increases in distance or intensity make them likely. Build a ruck march plan around regular strength and aerobic training, add one loaded walk every 10 to 14 days, and increase only one thing at a time: distance, weight or pace.
Ruck march training works best as a mix: research reviews found the biggest gains in loaded-march performance when strength and aerobic training were done at least three times a week for at least four weeks and included progressive load carriage (Knapik and colleagues, 2012). A 2021 international review recommends one load-carriage session every 10 to 14 days alongside that training. For a common target, the US Army’s Expert Infantryman Badge march of 12 miles in three hours with 35 lb, that means building to 15-minute miles over several months.
This guide is compiled from a published US Army foot-march manual, a US Army badge pamphlet and peer-reviewed training research, and sits with our other foot care guides for long-distance walkers. The example plan uses assumed inputs to show the method; it is not a program we have tested. It is general information, not medical or military advice, and this independent site has no connection with any armed force.
Quick specs: setting up your ruck training
Set your target first, then train three or more times a week with one loaded walk every 10 to 14 days; the table lists each input and its source.
| Input or item | Typical value or source | Why it matters |
|---|---|---|
| Target | Your event: distance, load and time limit (for example 12 mi, 35 lb dry, 3 h for the Expert Infantryman Badge, 2020 pamphlet) | Sets the pace and load you build toward |
| Training frequency | Strength plus aerobic work at least 3 times a week, at least 4 weeks (Knapik et al., 2012) | Produced the largest improvements in loaded-march times |
| Loaded sessions | One every 10 to 14 days (Orr et al., 2021) | Enough load exposure with time to recover |
| Progression | Change one variable per loaded session: distance, weight or pace | Sudden jumps in distance or intensity make blisters likely (US Army manual, 2017) |
| Goal pace | 15 min per mile for 12 mi in 3 h; about 20 min per mile at the Army’s normal moving pace | Tells you how much speed work you need |
| Pack | Framed pack with a hip belt | Shifts load from the shoulders to the hips (1996 load-carriage review) |
| Foot routine | Check before, during and after every loaded walk | Blisters are the most common problem on loaded marches |
Takeaway: Fill in the target row first; every other row depends on it.
What does a ruck march test usually ask for?
A ruck march test sets three numbers: a distance, a minimum pack weight and a time limit. The most quoted US benchmark is the Expert Infantryman Badge (EIB) foot march: candidates must complete 12 miles in three hours or less carrying 35 pounds of dry weight in the rucksack over the entire course, according to the US Army Infantry School’s pamphlet 350-6 (February 7, 2020 edition). “Dry weight” means the pack contents without water; the other equipment candidates carry adds to the total.
Your own event may differ. Civilian rucking events and fitness challenges set their own rules, and other military tests have their own standards, so write down the exact distance, minimum weight, time limit and whether water counts before you plan anything.
Once you have those three numbers, the pace you need is simple arithmetic: time limit divided by distance. Twelve miles in three hours is 15 minutes per mile, or 4 mph.
Takeaway: Write down the distance, load and time limit of your event first; every later choice comes from those three numbers.
How often should you train with a loaded pack?
Train with a loaded pack about once every 10 to 14 days, and fill the rest of the week with strength and aerobic training. That is the frequency a 2021 international review by Robin Orr and colleagues describes as optimal for load-carriage conditioning, “in conjunction with a program of both resistance and aerobic training”.
A 2012 systematic review by Joseph Knapik and colleagues pooled ten studies that timed people over a set distance with a backpack load. Its findings:
| Type of training | Effect on loaded-march performance |
|---|---|
| Progressive resistance training plus aerobic training, at least 3 times a week for at least 4 weeks | Large improvement (0.8 standard deviations or more) |
| Programs that included progressive load-carriage exercise | Much larger improvement (summary effect 1.7 standard deviations) |
| Field training mixing many modes, including progressive load carriage | Very effective (summary effect 1.1 standard deviations) |
| Aerobic training alone, or resistance training alone | Smaller and more variable effects |

One way to turn these findings into a schedule is the two-week block below. The split of sessions is our assumed example, not the exact programs the review pooled.
| Session 1 | Session 2 | Session 3 | Session 4 | |
|---|---|---|---|---|
| Week A | Strength | Aerobic, unloaded | Loaded walk | Strength |
| Week B | Strength | Aerobic, unloaded | Strength | Aerobic, unloaded |
Unloaded aerobic sessions can be brisk walking, hill walking or running. The same 2021 review notes that you can raise the intensity of a loaded session by changing speed, gradient or terrain, not only by adding weight.
One study has looked at injuries. A 2024 retrospective comparison of two cohorts of US Marine Corps recruits found a lower proportion of injuries after recruit training switched to a periodized load-carriage program (39% vs 58%, relative risk 0.68), even though recruits did more loaded hikes; severe injuries were a slightly higher proportion in the new program (6% vs 3%). That is an observed difference in one military program, not proof that any plan, including the example below, lowers injury risk.
Takeaway: Plan one loaded walk every 10 to 14 days and spend the other sessions on strength and aerobic fitness.
The One-Variable Rule for progression
The One-Variable Rule means each loaded session changes just one thing from the last: distance, pack weight or pace. Keep the other two the same. If the session goes well and your feet come through it without hot spots, change the next variable next time.
The idea follows from the US Army’s 2017 foot-march manual. It says regular conditioning with load carriage “induces skin adaptations reducing the probability of blisters”, but that “sudden increases in march intensity or distance probably make blisters likely, regardless of conditioning regularity”. It also notes that heavy loads increase blister incidence, and the 2021 review suggests adjusting speed, gradient or terrain rather than weight alone. Changing one thing at a time is our suggestion for keeping increases gradual and easy to track in a training log. It does not make a large step safe, and it cannot tell you for certain why a blister or pain appeared, since shoes, socks, terrain and recovery also play a part. If you are still getting hot spots from damp or wrinkled socks, fix that before adding load.
How to apply it:
- Distance first while the load is light, until you can cover most of the event distance.
- Then weight, in modest steps, at a distance you have already done.
- Pace last, once most of the event distance at full weight feels controlled.
- Hold or step back if you finish with hot spots, joint pain or unusual fatigue.
This is our name for an ordering method drawn from the sources above. It is not an official training standard.
Common mistake: Adding miles and pounds in the same week because the event date is close. A session that is both longer and heavier is a bigger jump than either change alone, and it is harder to see from your log what went wrong.
Takeaway: Change distance, weight or pace, never two at once, and only after your feet handled the last session.
A 12-week example plan
The plan below shows the One-Variable Rule applied over 12 weeks of training toward the Expert Infantryman Badge target of 12 miles with 35 lb in three hours, with the event after week 12. Example, assumed inputs: the starting point of 4 miles with 15 lb, the step sizes and the weeks are our choices to illustrate the method, not research-derived values, and following it does not guarantee a three-hour finish. Adjust them to your starting fitness and your event.
| Week | Loaded session | Distance | Pack weight | Pace | What changed |
|---|---|---|---|---|---|
| 1 | Session 1 | 4 mi | 15 lb | Easy, about 20 min/mi | Starting point |
| 3 | Session 2 | 7 mi | 15 lb | Easy | Distance |
| 5 | Session 3 | 10 mi | 15 lb | Easy | Distance |
| 7 | Session 4 | 10 mi | 25 lb | Easy | Weight |
| 9 | Session 5 | 10 mi | 35 lb | Easy | Weight |
| 11 | Session 6 | 10 mi | 35 lb | 15 min/mi | Pace |
| After week 12 | Event | 12 mi | 35 lb | 15 min/mi | Event: last 2 miles added |
Every week also includes strength and unloaded aerobic sessions, laid out as in the two-week block above (our assumed split). The week 11 session is the check: if 10 miles at 15 minutes per mile with full weight is out of reach, keep the event pace goal but extend the plan with another pace session before the event, rather than adding miles and speed together.

If 4 miles with 15 lb feels hard in week 1, start lighter or shorter and stretch the plan; the event date should move before the progression does. If you finish a session with blisters, do not move to the next step: look after the blister as the NHS advises, avoid the shoes that caused it until it heals, fix the rubbing source, and get advice from a doctor or pharmacist if it is very painful or looks infected.
Takeaway: Use the example as a template for the order of changes, then fit the numbers and weeks to your own starting point.
Pace and time: how long will your ruck take?
Your finishing time is distance multiplied by minutes per mile, plus any stops. The table below does the arithmetic for common distances. It assumes continuous walking unless noted.
| Pace (min per mile) | Speed | 6 miles | 12 miles | 20 miles (about 32 km) |
|---|---|---|---|---|
| 15:00 | 4.0 mph | 1 h 30 min | 3 h 00 min | 5 h 00 min |
| 17:00 | 3.5 mph | 1 h 42 min | 3 h 24 min | 5 h 40 min |
| 20:00 | 3.0 mph | 2 h 00 min | 4 h 00 min | 6 h 40 min |
| 24:00 | 2.5 mph (about 4 km/h) | 2 h 24 min | 4 h 48 min | 8 h 00 min |

Two reference points from the US Army’s 2017 foot-march manual help read the table. Its normal marching pace is a 30-inch step at 106 steps per minute; by our arithmetic that is about 4.85 km/h, 3.0 mph or 20 minutes per mile while moving. Separately, it gives an average daylight rate on roads of 4 km/h, close to the bottom row of the table, and describes a normal march day as 32 km in eight hours. Under normal conditions it suggests a 15-minute halt after the first 45 minutes of marching, after which a 10-minute halt may be taken after each 50 minutes of marching, depending on the situation. The table above does not include any halts. The 15-minute mile of the badge test is much faster than either.
Takeaway: Divide your time limit by the distance to get your goal pace, and compare it with your easy pace to see how much speed you need to build.
How much weight should you start with?
Start with a load you can carry for your first distance with good posture and no foot pain, then add weight in steps at a distance you have already completed. There is no published civilian starting weight we can point to; the 15 lb in the example plan is an assumption.
Weight costs speed and distance. The 2017 Army manual estimates that the distance covered in six hours falls by about 2 km for every 10 lb carried over 40 lb, at a sustainable effort over cross-country ground. That is one reason to reach full weight before working on pace.
The manual’s body-weight table is often quoted, but it describes combat loads, not training targets: an average fighting load of 60 to 80 lb (about 30% of body weight is ideal), an average total approach-march load of 80 to 100 lb (about 45%), and approach-march loads that should not exceed 100 lb. Training for a 35 lb test does not require carrying those weights.
Pack fit matters as much as pack weight. A 1996 review of load carriage found that a framed pack with a hip belt reduced the incidence of “rucksack palsy”, a shoulder traction injury, presumably by shifting force from the shoulders to the hips. The 2017 manual also recommends an adjustment stop within the first half-hour to loosen or tighten laces and adjust the pack. If straps or the hip belt rub, see how to prevent chafing under pack straps.
Common mistake: Training with a heavier pack than the event requires to “make the event feel easy”. Extra weight raises blister and injury risk and slows your pace work; build to the event weight, then work on speed.
Takeaway: Pick a starting load you can carry without pain, use a hip-belted pack, and stop adding weight once you reach the event load.
Ruck march training at home: strength and foot conditioning
You can do most of a ruck march program without a pack: the strength and aerobic sessions that made up the three-or-more sessions a week in the 2012 review need no load, and simple foot exercises can be added on top. That review found resistance training combined with aerobic training produced large improvements; either one alone helped less and less consistently.
What home sessions can cover:
- Strength: progressive resistance work for legs and trunk, two sessions a week in the example plan.
- Aerobic: brisk walking, stair or hill walking, cycling or running, one or two sessions a week.
- Foot conditioning (an add-on, not a session): the 2017 Army manual suggests rising high on the toes and using the toes to roll a towel back under the arch, to condition the arch, ankle and calf.
- Footwear practice: wear the boots or shoes and socks you will use on the event for unloaded walks so nothing is new on the day. Our guide to choosing socks for long walks covers fit, fiber and spares.
The manual is clear that the feet themselves adapt by walking: “Conditioning is accomplished by progressively increasing distance marched from day to day.”
Takeaway: Use home sessions for strength, aerobic fitness and foot exercises, and let the loaded walks do the rest.
Foot checks before, during and after every loaded walk
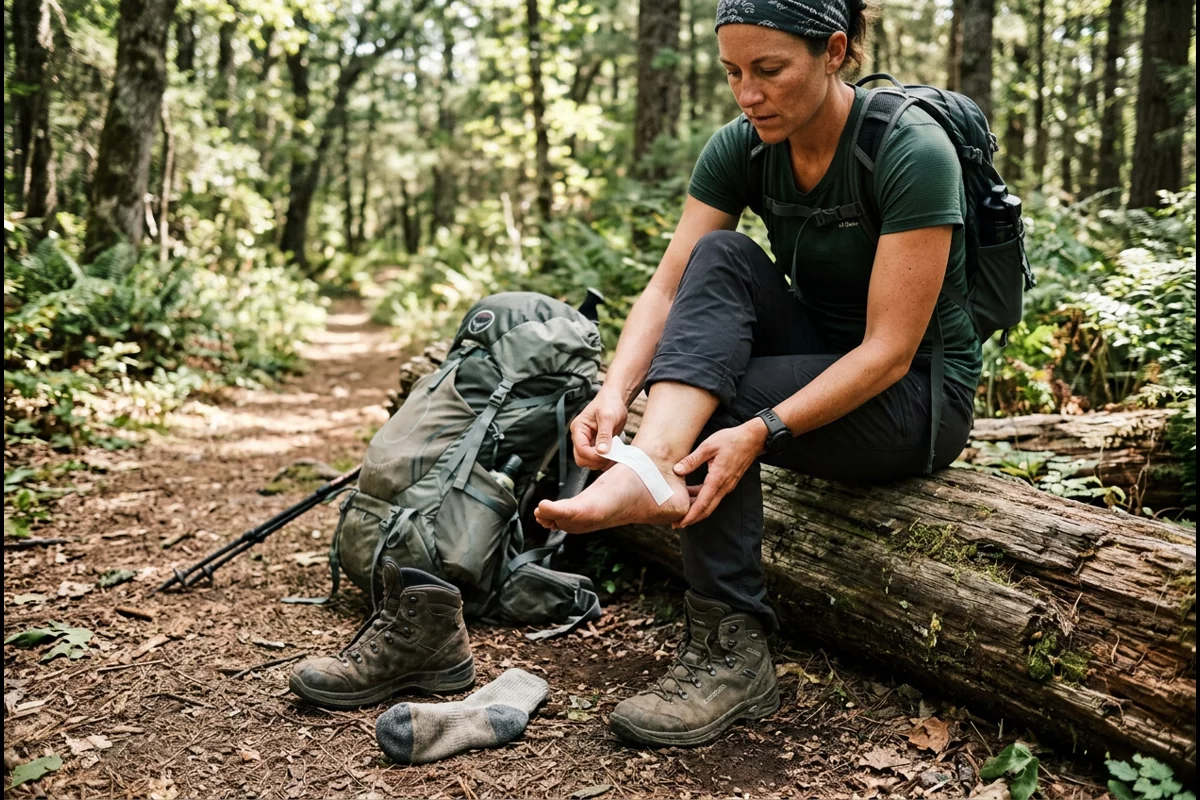
Check your feet at three points on every loaded walk: before you start, at each stop and after you finish. Foot blisters are the most common medical problem on loaded foot marches, according to a 2014 review by Joseph Knapik, and the 2017 Army manual lists checks for each stage.
| When | What to check or do | Source |
|---|---|---|
| Before | Toenails trimmed short and straight across; feet clean and dry; clean, dry, well-fitting socks with no holes; socks that fit without wrinkles | US Army manual, 2017 |
| First half-hour | Stop briefly to adjust laces and pack | US Army manual, 2017 |
| At stops | Take off one boot at a time; look for red or tender patches; change damp socks | US Army manual, 2017 |
| Halfway on long walks | Longer stop to change socks | US Army manual, 2017 |
| After | Wash and dry feet; dry socks and boots; inspect painful areas and check sock and boot fit | US Army manual, 2017 |
| Every session | Note any hot spot or chafing, where it was and what changed that day | Our suggestion, to apply the One-Variable Rule |
Keep a short log next to your training plan: date, distance, weight, pace, socks and shoes used, and any hot spot or pain. Rubbing under straps or on the thighs belongs in the log too; see how to prevent chafing by body area. When the same spot rubs twice, change one thing about the shoe, sock or lacing before the next loaded walk. For the full sock routine, see planning spares and sock changes.
If a blister forms, follow the NHS advice on blisters: keep it clean, cover it with a soft plaster or dressing, do not pop it yourself, and avoid the shoes that caused it until it heals.
Takeaway: Check your feet before, during and after every loaded walk, and log where anything rubbed.
Warning signs: when to stop and get checked
Stop the session if pain changes the way you walk or does not settle with rest, and ask a doctor for advice; contact a doctor or NHS 111 (or your local equivalent) if a blister looks infected. Loaded walking has known injury patterns, so treat new pain as a reason to pause rather than push on.
A 1996 review of load carriage lists the injuries most associated with prolonged pack carrying: foot blisters, stress fractures, back strains, metatarsalgia (pain in the ball of the foot), rucksack palsy (a shoulder traction injury) and knee pain. The 2017 Army manual adds that lower-leg stress fractures come from repetitive overloading of bone during activities such as foot marching, and that once they occur, recovery is directed by a physician.
Signs we suggest taking seriously (general guidance, not a diagnosis):
- Pain that is worse with each session, is present at rest, or makes you limp.
- Numbness or tingling while carrying the pack.
- A blister that is very painful, keeps coming back, or looks infected: hot, filled with green or yellow pus, or with red skin around it (NHS).
Takeaway: Treat pain that changes your stride or lingers, numbness, or an infected-looking blister as a reason to stop and get advice, not to push through.
When this does not apply
This guide is written for healthy adults preparing for a loaded walk or march of around 12 miles. It does not apply, or needs professional input, if:
- You have a current injury, a heart or lung condition, or a condition such as diabetes: get medical advice before starting loaded training.
- You are under orders: military trainees should follow their unit’s current program and the current edition of any manual; the figures here come from the 2017 edition of ATP 3-21.18 and the 2020 EIB pamphlet, both of which may have been updated.
- Your event is much longer or heavier: multi-day or very heavy loads need a longer build and more recovery than this example shows.
- You are returning from a stress fracture or similar injury: return to loaded walking only as your clinician advises.
Takeaway: Treat this guide as a starting framework for a healthy adult, not a replacement for medical advice or official training rules.
How this guide was put together
We compiled this guide on October 7, 2026 from the US Army’s ATP 3-21.18 Foot Marches (April 2017 edition, approved for public release; later editions exist that we could not retrieve), the US Army Infantry School’s EIB pamphlet 350-6 (February 7, 2020), the NHS blisters page, and the abstracts of peer-reviewed reviews and studies listed in the sources. The pace table is our arithmetic. The 12-week plan is an example with assumed inputs. We did not test the plan, and nothing here comes from our own training or from any armed force.
Related reading:
- Best socks for long distance walking — Choose the sock fit, fiber and spare pairs for your training walks.
- Anti-chafe balm and chafing prevention — Stop thighs, underarms and pack straps rubbing on long loaded walks.
- Foot care guides — Browse other articles on keeping feet healthy over long distances.
- About this site — Who runs this independent site and what it does not cover.
Takeaway: The numbers on this page come from named public sources or simple arithmetic; none comes from our own testing.